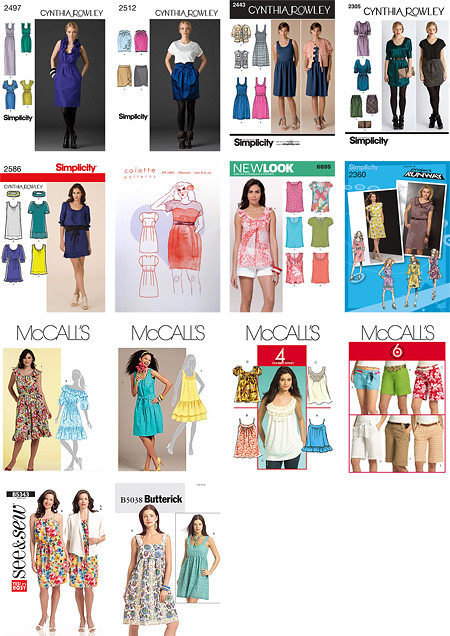
THIS IS A WISH LIST. As in, I really wish I could stay focused long enough, afford the materials, have the time, and fully understand how to make the following dresses:
 Juicy Couture $140
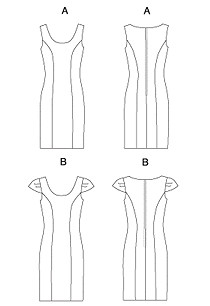
 Simplicity 2360 in view A?
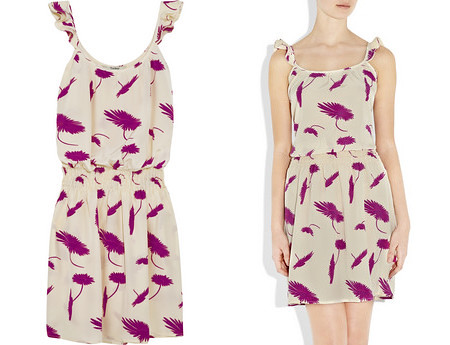 Tucker $295
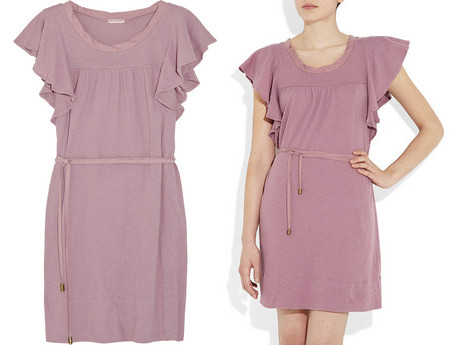
 Simplicity 2175 in view A with the smaller ruffle? May be a bit of a stretch...
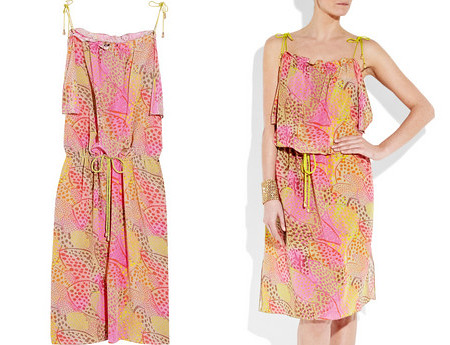 Alberta Ferretti $1,305
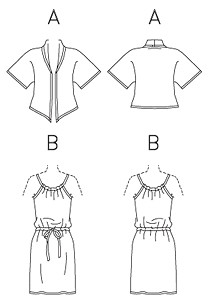 Butterick 5343 in view B with ties at the shoulders?
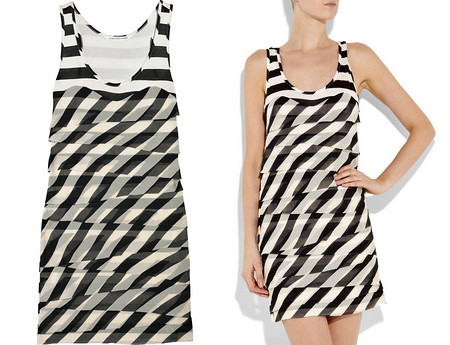 Diane von Furstenberg $345
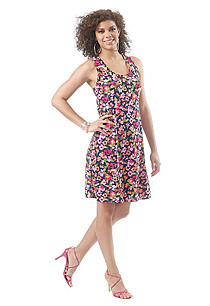
 McCall's 6347 in view A + bias cut strips? Not 100% on the sweetheart portion.
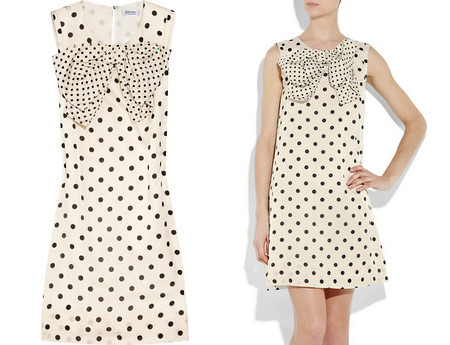 Sonia Rykiel $495
 New Look 6895 in view F lengthened + giant bow?
 Sonia Rykiel $1,120
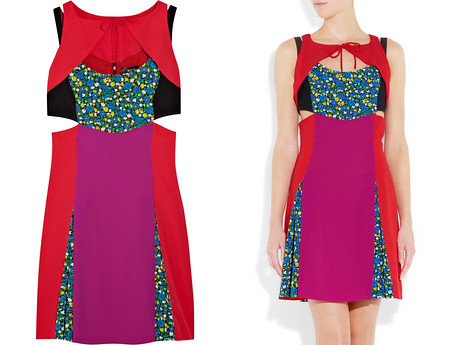 Versus $1,650
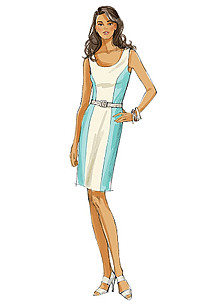
 Butterick 5554 in view A with some serious modifications/color-blocking.
I got so excited about the last two dresses that I even sketched them out to try and better understand exactly what I'd need to do to recreate them.

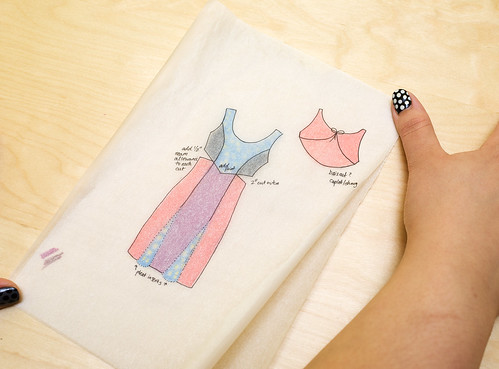
Figuring out whether godets, gores, or pleats would work best for the Versus dress took a minute, too. Then I realized inverted pleats with separate inlays made the most sense, thanks to the sewing book my mom got me for Christmas. Yay, mom!
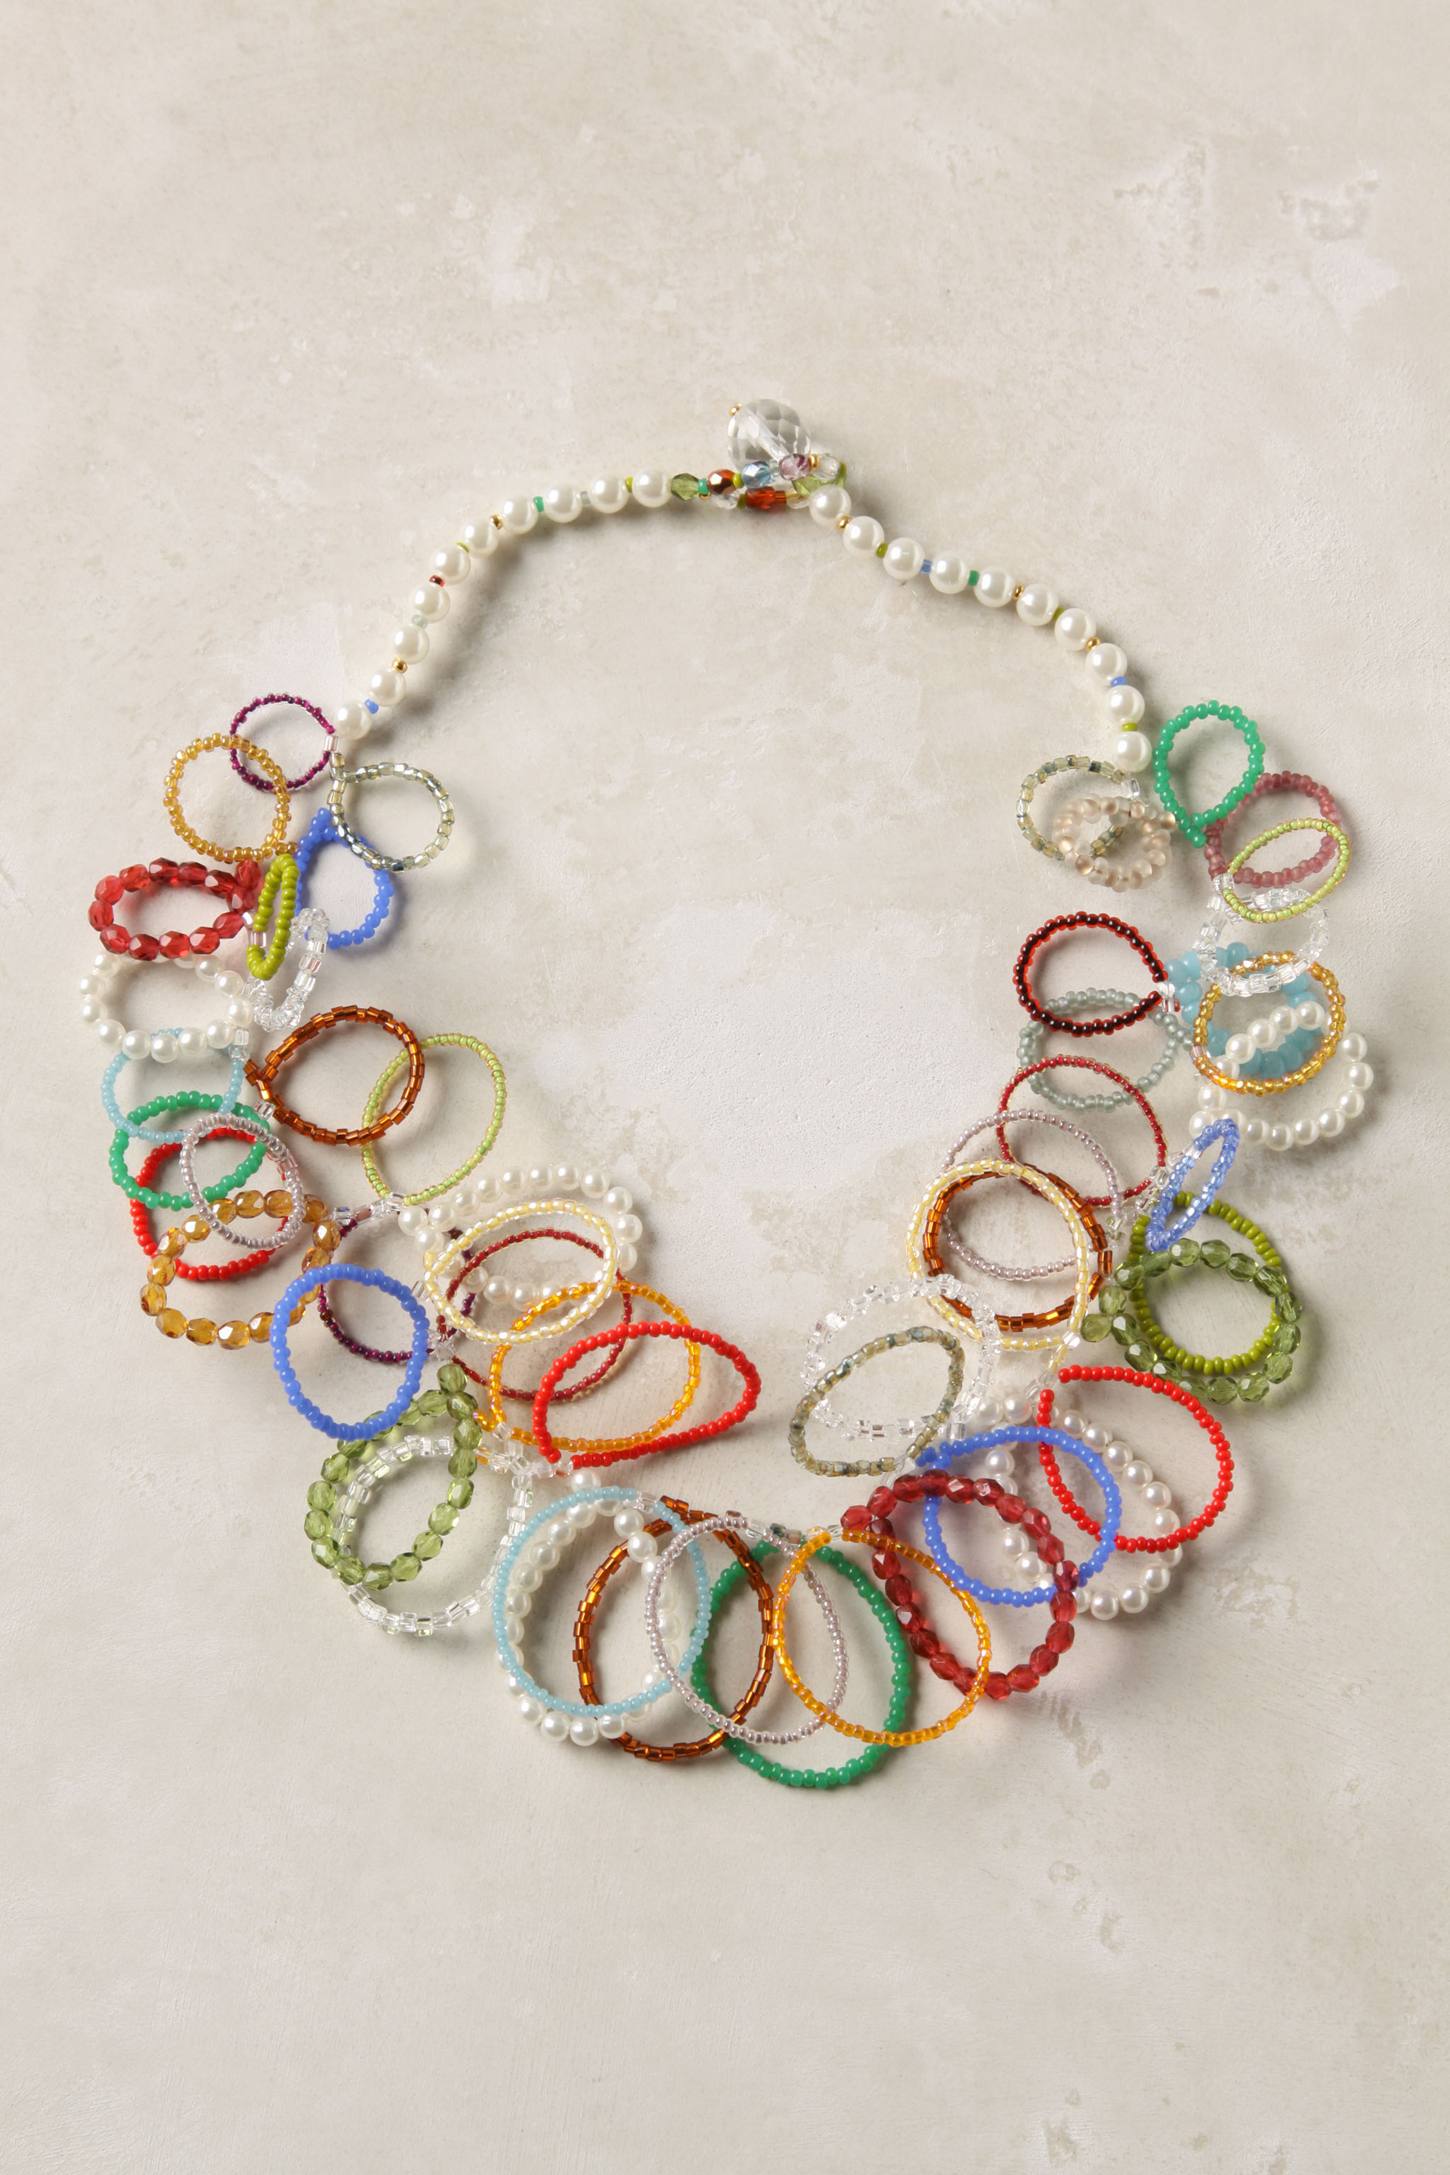
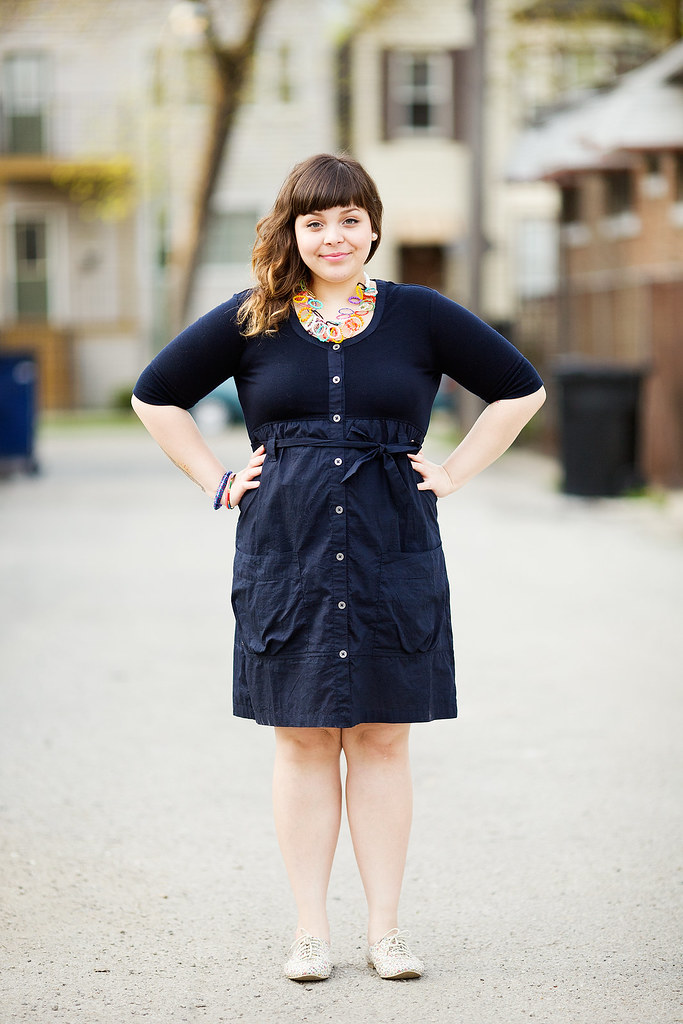
An added bonus is I already own a few of these patterns, though I'm fairly certain the cost of materials can and most likely will get out of hand. Luckily I buy all of my patterns on super-duper sale so they won't cost me more than 99¢ a piece. Being resourceful when you're on a budget can be pretty easy if you have the time to shop smart, so I'll be going to thrift stores, second hand shops, yard sales, and so on to find inexpensive fabric. JoAnn also does an awesome job of sending out coupons for 40-50% off on a regular basis, which I think can be applied to notions, but I'm not completely positive. I also really enjoy this entire look, so I'll just add it to the list:

I wish I knew where I found this photo, but I can't remember!

 Simplicity 2848 in view C + a flat collar, right?
In a perfect world I would commit to some kind of schedule, but that may be too difficult for a TON of different reasons. Maybe this can become a monthly challenge for me or something? We'll see... My Parkahh! has been sitting in my studio waiting since October/November!! I'm terrible ;x
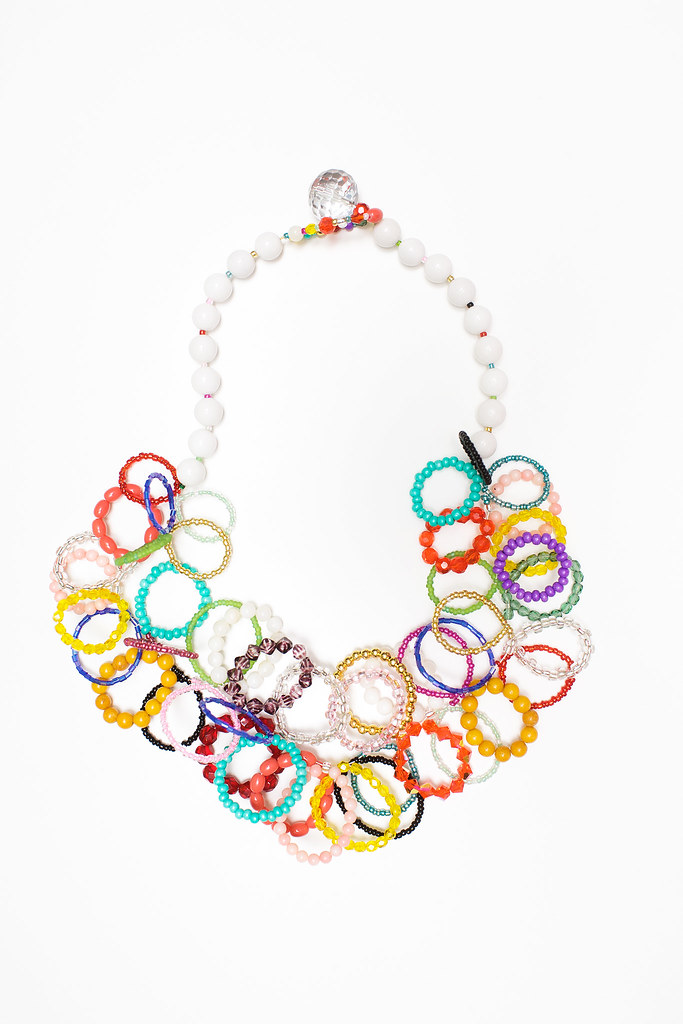
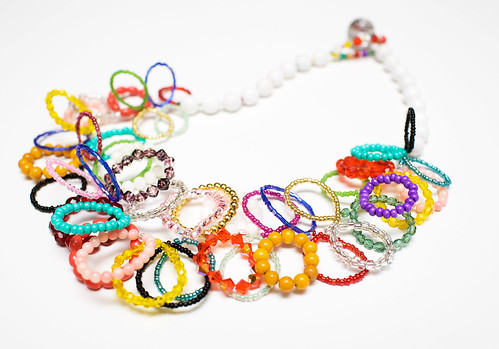
Doesn't this dress look like the love-child of the Versus dress + the knit Sonia Rykiel?
 ML Designs


 V1236
V1236