

I love drugstore shopping, which I know I mention all of the time, so it should come as no surprise that I spent a lot of time hopping from Walgreens to Dollar General to CVS this past week. My final stop was Five Below where I picked up three new nail polishes I used for these nails.
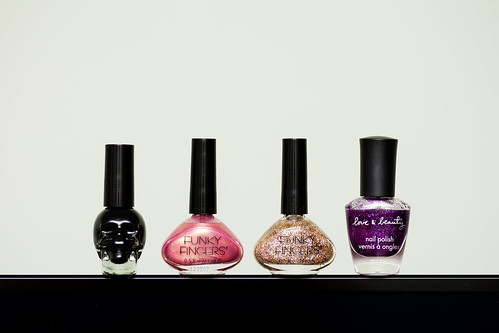
From left to right: Unlabeled Skull Nail Polish in Black, Funky Fingers in Pink Pixels and Fool's Gold, and Love & Beauty in Purple/Black (which I already owned).
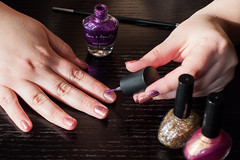
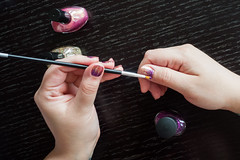
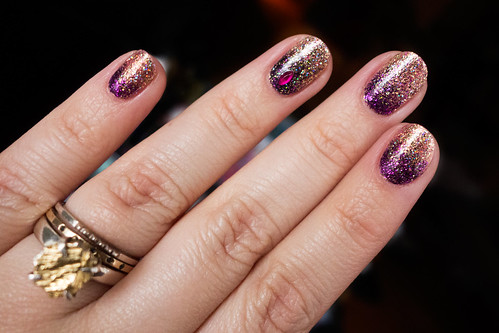
To get this look I started with two coats of Pink Pixels followed by two coats of Fool's Gold. Next, with very little product on the brush, I lightly covered each nail with the Purple/Black glitter. Using a small brush, I made sure to slowly build the glitter starting at the cuticles, moving outward to get the gradient just right.
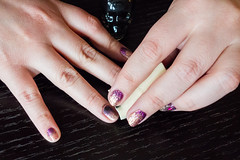
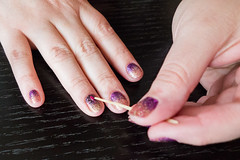
Using a cosmetic sponge, I applied black just at the cuticle (be sure to use a moist sponge with a very small amount of black). Then, I placed a small oval stone at the base of each accent nail with a toothpick. Finally, I painted two layers of top coat (three on the accent nails so those stones will stay put). If you try this look please comment below with a link! I'd really love to see it!
In an effort to catch up with all of you savvy internet users, I signed up for Bloglovin' (finally). I'm only a few years late... I was suprised to see I already have quite a few of you following me there, so thanks guys! Follow my blog with Bloglovin' if you'd like!
Wish I had more nail polish to do this myself! It's too pretty :)
ReplyDeleteStay tuned! I'm planning a special giveaway soon!!
DeleteYour nails look beautiful. I wish I had the patience to paint my nails like this.
ReplyDeleteThank you! It did take some time because of clean up/glitter getting everywhere but I think it pays off. Especially on lazy days while watching crappy movies on Netflix! :)
DeleteYour nails are perfect every.single.time! Thank you for sharing this beautiful tutorial with us :-)
ReplyDeleteYou're so sweet, Ines! I hope it's useful to you and if (when) you try it you have to let me see photos! :)
Deletenike air max 90
ReplyDeletecoach outlet online
michael kors outlet online
michael kors handbags outlet
cheap jordan shoes
true religion jeans outlet
fitflops sale clearance
true religion outlet
birkenstock outlet
adidas pure boost
coach factory outlet
louis vuitton outlet online
basketball shoes
coach outlet online
christian louboutin outlet
nhl jerseys wholesale
nike cortez
christian louboutin sale
nike huarache
north face uk
armani exchange
nike air max 90
adidas trainers
fitflops sale clearance
polo ralph lauren
pandora charms sale clearance
michael kors handbags
kate spade outlet
michael kors outlet online
coach outlet
michael kors outlet online
ugg sale
coach factory outlet
wholesale nike shoes
jordans shoes
2016814yuanyuan
hollister clothing store
ReplyDeletecoach outlet store
pandora charms outlet
yeezy boost 350
coach outlet online
true religion jeans outlet
michael kors purses
michael kors outlet store
red bottom
coach factory outlet online
2017228yuanyuan